Are you tired of your logos looking like they were created by a kindergartener armed with crayons and a dream? It’s time to elevate your brand with some seriously sophisticated banner ribbons. In this article, we’ll show you how to design elegant banners in Illustrator that will make your logos stand out from the crowd – because let’s face it, your brand deserves better than clip art and Comic Sans. So grab your cocktail, put on your fanciest beret, and let’s get designing!
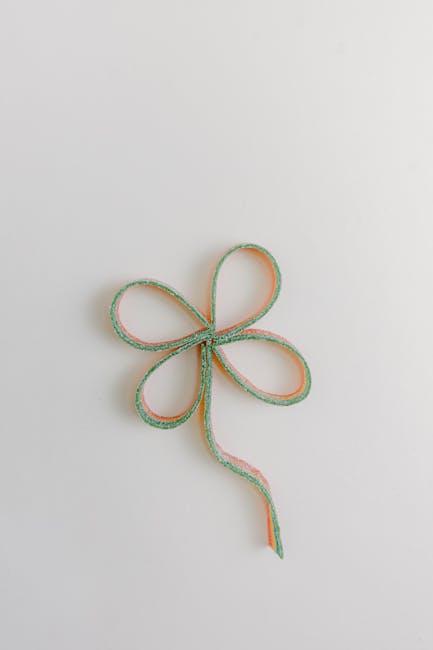
Choosing the Right Ribbon Shape
When it comes to for your project, the options can be overwhelming. But fear not, dear readers! We’re here to help guide you through the plethora of possibilities.
First and foremost, consider the occasion for which the ribbon will be used. Are you wrapping a birthday present for your quirky cousin? A **curly ribbon** might be the perfect choice to match their fun personality. Or perhaps you’re crafting a fancy invitation for your best friend’s wedding? In that case, a **satin ribbon** with a sleek and elegant look could be just the ticket.
Next, think about the size of the item you’ll be embellishing. For smaller gifts or projects, a **thin ribbon** will add a delicate touch without overwhelming the item. On the other hand, larger gifts or decorations might benefit from a **wide ribbon** that makes a bold statement.
Lastly, don’t be afraid to get creative with your ribbon shape choice! Who says a ribbon has to be a simple straight line? Consider opting for a **zigzag ribbon** or even a **star-shaped ribbon** for an unexpected twist. The possibilities are endless, so let your imagination run wild!

Selecting a Classic Color Scheme
When it comes to , it’s important to remember that less is more. You don’t want your space to look like a rainbow threw up all over it! Stick to a few key colors that complement each other and create a cohesive look.
Consider using timeless colors like navy blue, forest green, and rich burgundy. These colors will never go out of style and will add a touch of sophistication to any room. Plus, they’re great for hiding any spills or stains that may occur - because let’s be real, accidents happen!
Don’t be afraid to mix and match different shades of the same color. Contrast can add depth and visual interest to a room. For example, pair a light grey sofa with dark grey accent pillows, or mix a pale pink throw blanket with a bold fuchsia rug.
Remember, when it comes to , trust your instincts and go with what feels right for you. After all, you’re the one who has to live with it every day! And if all else fails, just close your eyes and point to a color on a swatch – it’s foolproof, I promise!
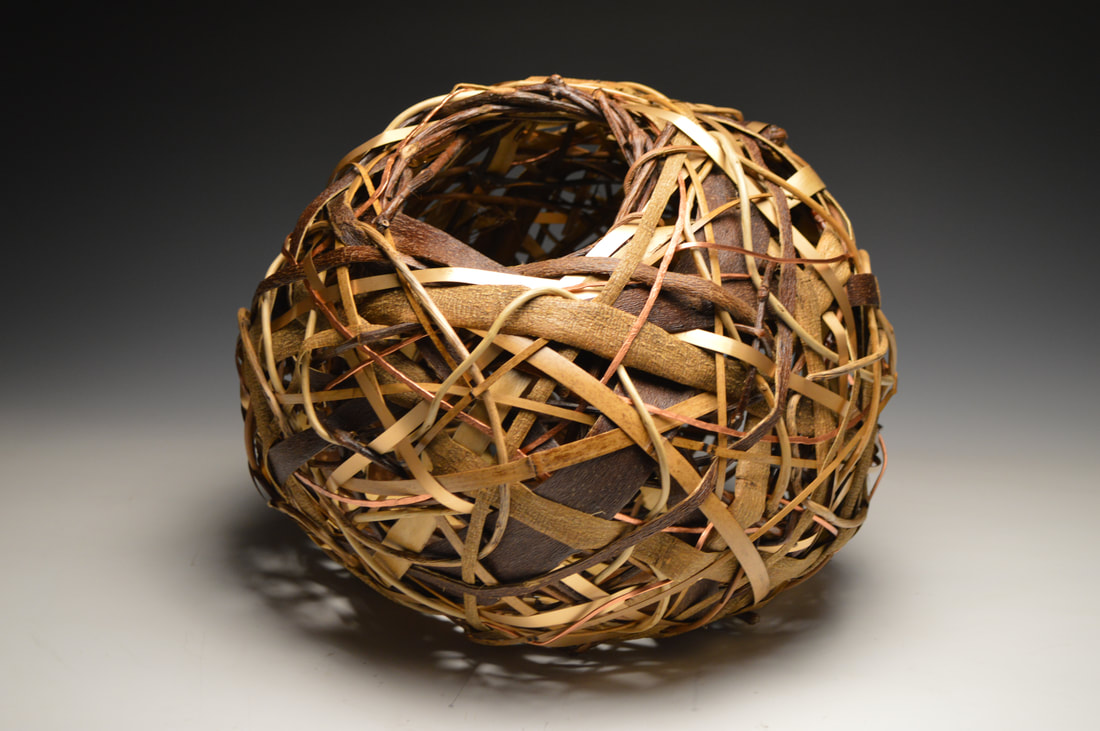
Crafting Intricate Patterns and Textures
Are you tired of bland, boring designs that lack personality? Are you ready to take your crafting to the next level? Look no further! is the key to adding flair and creativity to your projects.
With a little imagination and a lot of patience, you can create stunning pieces that will leave others in awe of your skills. By experimenting with different techniques and materials, you can achieve unique textures that will set your work apart from the rest. Whether you prefer knitting, crocheting, or sewing, there are endless possibilities for incorporating intricate patterns into your creations.
Don’t be afraid to mix and match colors, shapes, and sizes. Embrace the chaos and let your creativity run wild! From delicate lacework to bold geometric designs, there are no limits to what you can achieve. So grab your tools and get crafting!
Remember, the beauty is in the details. Take the time to focus on each stitch, each weave, each knot. The more effort you put into perfecting your craft, the more impressive the end result will be. So go ahead, challenge yourself to try something new and daring. Who knows, you might just surprise yourself with what you can create!

Adding Depth with Shadows and Highlights
Ever feel like your designs are falling flat? can give your project the WOW factor it needs!
Using shadows creates a sense of depth and dimension, making elements appear more realistic and lifelike. Whether it’s a drop shadow or inner shadow, playing with the angle and opacity can make your design pop!
On the flip side, highlights can add a touch of sparkle and shine to your project. Think of highlights as the glitter of the design world – they catch the eye and draw attention to specific areas. Plus, they can make elements appear more 3D.
Don’t forget about contrast – combining shadows and highlights effectively can create a dynamic interplay that makes your design stand out. Experiment with different light sources and intensities to find the perfect balance for your project!
Customizing Fonts and Typography
So you want to spice up your website with some custom fonts and typography, huh? Well buckle up, buttercup, because we’re about to take your design game to the next level!
First things first, let’s talk about Google Fonts. These babies are a designer’s dream come true. With over 900 fonts to choose from, you can bet your bottom dollar that you’ll find the perfect one to match your website’s vibe. Simply head on over to the Google Fonts website, select your desired font, and copy the embed code into your HTML. It’s as easy as pie!
Next up, let’s chat about font pairings. Just like peanut butter and jelly, some fonts are meant to be together. One way to really make your typography pop is to pair a bold, attention-grabbing font with a more subtle, easy-to-read one. Think of it as a dynamic duo that will make your website stand out from the rest.
And finally, don’t be afraid to play around with font sizes, weights, and colors. Mix it up, have some fun! Want your headers to be as big as a house and as bright as the sun? Go for it! Want your body text to be as sleek and elegant as a swan gliding across a lake? You do you, boo. The world is your oyster when it comes to – so go forth and design, my friends!
Finalizing the Design with Finishing Touches
So, you’ve spent countless hours working on your design, tweaking every detail to perfection. Now it’s time to add those finishing touches that will take your creation to the next level.
First up, let’s talk about font choice. A boring font can make even the most beautiful design fall flat. Go bold with your font selection! Choose something that will make a statement and grab your audience’s attention.
Next, consider adding some fun elements like drop shadows or gradients to add depth and dimension to your design. Don’t be afraid to get a little crazy with it - this is your chance to let your creativity shine!
And finally, don’t forget about the importance of whitespace. A cluttered design can overwhelm the viewer, so be sure to leave some breathing room around your elements. As they say, less is more!
FAQs
When designing banner ribbons in Illustrator, what are some key elements to consider for creating a distinct logo?
First and foremost, always keep in mind the message you want your logo to convey. Choose colors and fonts that reflect your brand identity and make sure the shape and size of the banner ribbon complement the overall design.
What are some tips for creating an elegant and eye-catching banner ribbon in Illustrator?
For starters, play around with different gradients and shadows to add depth to your design. Don’t be afraid to experiment with different shapes and curves to give your banner ribbon a unique look. And always remember to keep it simple and clean – less is often more when it comes to design!
How can I ensure that my banner ribbon design stands out from the competition?
One word: creativity! Think outside the box and come up with innovative ways to incorporate your brand’s personality into the design. Whether it’s through quirky patterns or unexpected color combinations, make sure your banner ribbon is a true reflection of your brand’s individuality.
What are some common mistakes to avoid when designing banner ribbons for logos?
Avoid cluttering your design with too many elements – remember, less is more. Also, be mindful of readability – make sure your font is clear and easy to read, especially if your banner ribbon includes text. And most importantly, don’t forget to make sure your design is scalable and versatile for different applications!
Any final tips for designers looking to create elegant banner ribbons for distinct logos?
Have fun with your design and don’t be afraid to take risks! Remember that your logo is often the first impression customers have of your brand, so make sure it’s memorable and reflects your brand’s values. And most importantly, trust your instincts – if it looks good to you, chances are it will look good to others too!
Wrap it Up with a Bow (or Ribbon!)
And there you have it folks, the secrets to creating stunning banner ribbons in Illustrator for your distinct logos. We hope you enjoyed this tutorial and found it helpful in sprucing up your designs. So go forth and design those elegant banners like a pro, and remember – when in doubt, just add more swirls and curls! Happy designing!